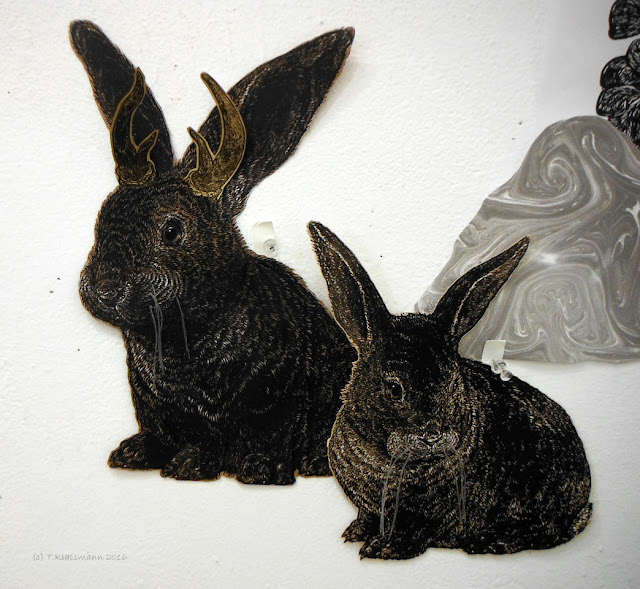
...Not gonna lie, super excited about the unicorn [:) !!]
Now you may be thinking "but didn't you already print a unicorn head?" - I printed a unicorn head, but not this unicorn - haha. This one is the final (*hopefully!) version - it's about 20% larger, on toned paper, and heightened with ink, color pencil and acrylic (thumbs up!)
 |
| brand new! 14 x 17" polyester lithography print with added mixed media on toned paper |
I sort of want to get straight to the unicorn (because it's literally hot off the press!), but there were a lot of other things that happened first...
For one thing, I kept working on the plant from last week. I sewed the flowers down with gold thread and think they look nice...but, it seemed like it needed a little something more...

 I've been working on cleaning up the yard and getting ready for spring planting, and someone generously donated their cast off losing lottery tickets to my work.
  I think this is a little funny because to get the art-ticket to this point I had to smooth out the crumpled ticket, then scan, modify, flip, turn into a plate, ink and run through the press, cut out, hand ink (the gold)... then crumple it back up and put it in the work (haha - from ugly, to beautiful, to ugly, to beautiful...)
During this time, I was also working on the unicorn's neck and tail. I did a lot of research, before ultimately deciding to draw the neck and tail directly on the block - I tried to make the neck so that the head can be positioned pointing up, down, or straight...
 |
| drawing of neck and tail on the block |
 Then I prepared paper for the horn by painting it gold, and the head, neck and tail by toning it (I think the subtle tonal variation is more in keeping with actual hair/fur and makes the finished prints seem more naturalistic.)
I carved the neck, mane and tail block, scanned it and made polyester lithography blocks from it
 |
| polyester lithography blocks of the tail and head placed on top of the paper to figure out the layout |
 |
| I cut the edge of the plates so that they wouldn't leave a straight seam... |
 |
| to see if that would help make the edges of the plates less visible in the finished print |
 |
| This is the resulting print before any correction - fingers crossed, I think I'll be able to make that seam disappear... |
 |
| I did the same thing with the plates for the neck, and will print them this coming week (wish me luck!) |

To join it to the neck, I think I'll need to cut it right behind the jaw and ear so that the line between the pieces won't be obvious and I can adjust the direction that the nose points (up like on a carousel horse, or down like on shield, or straight like on a tapestry...so many options ;) )
Other art things..I'm getting ready to carve a 4 x 2 ft block [! :o ! ] I'm extremely excited to participate in a large-scale print event hosted by Big Ink in June. I'll be getting to test out their new, one-of-a-kind, giant, mobile press (which you too can help make a reality!: https://www.kickstarter.com/projects/bigink/big-ink-large-woodcut-revolution ). This is incredibly exciting, and I'm eager to get going on the block. It will be the largest single block I've ever carved and it's also a new material to me (MDF).
Step 1 - obtained the block and got it home [check! It's going well already ;) ]. It's a major time investment, so I spent sometime thinking about what I most want on this block.
I decided I want a tree - in particular, I want a tree that I can collage my birds into like the tree from the Creation story in the Nuremberg Chronicles (that I'm semi-obsessed with and nerd out about on the blog every few months - like here O:) ).
 |
| woodblock print illustrating the Fifth Day, from the Nuremberg Chronicle, by the workshop of Michael Wolgemut, ca. 1493 https://en.wikipedia.org/wiki/Nuremberg_Chronicle#/media/File:Nuremberg_chronicles_-_f_4v.png |
 |
| I scanned part of one of my collages with a tree from an earlier block |
 |
| ...now all I have to do is get the tree onto the block.[haha :P] |


